Replacing the "permanent" filter on a Dyson DC18
My Dyson DC18 vacuum is 5 years old and has started to stink up the house whenever I run it. After some research I discovered the cause: a filthy permanent filter. Turns out it isn’t as permanent as Dyson claims, and many people replace it every few years.
The first step is to buy a replacement filter. I got a genuine Dyson filter on Amazon for $34. Considering refurbished DC18s are $200+, I think $34 is pretty reasonable.
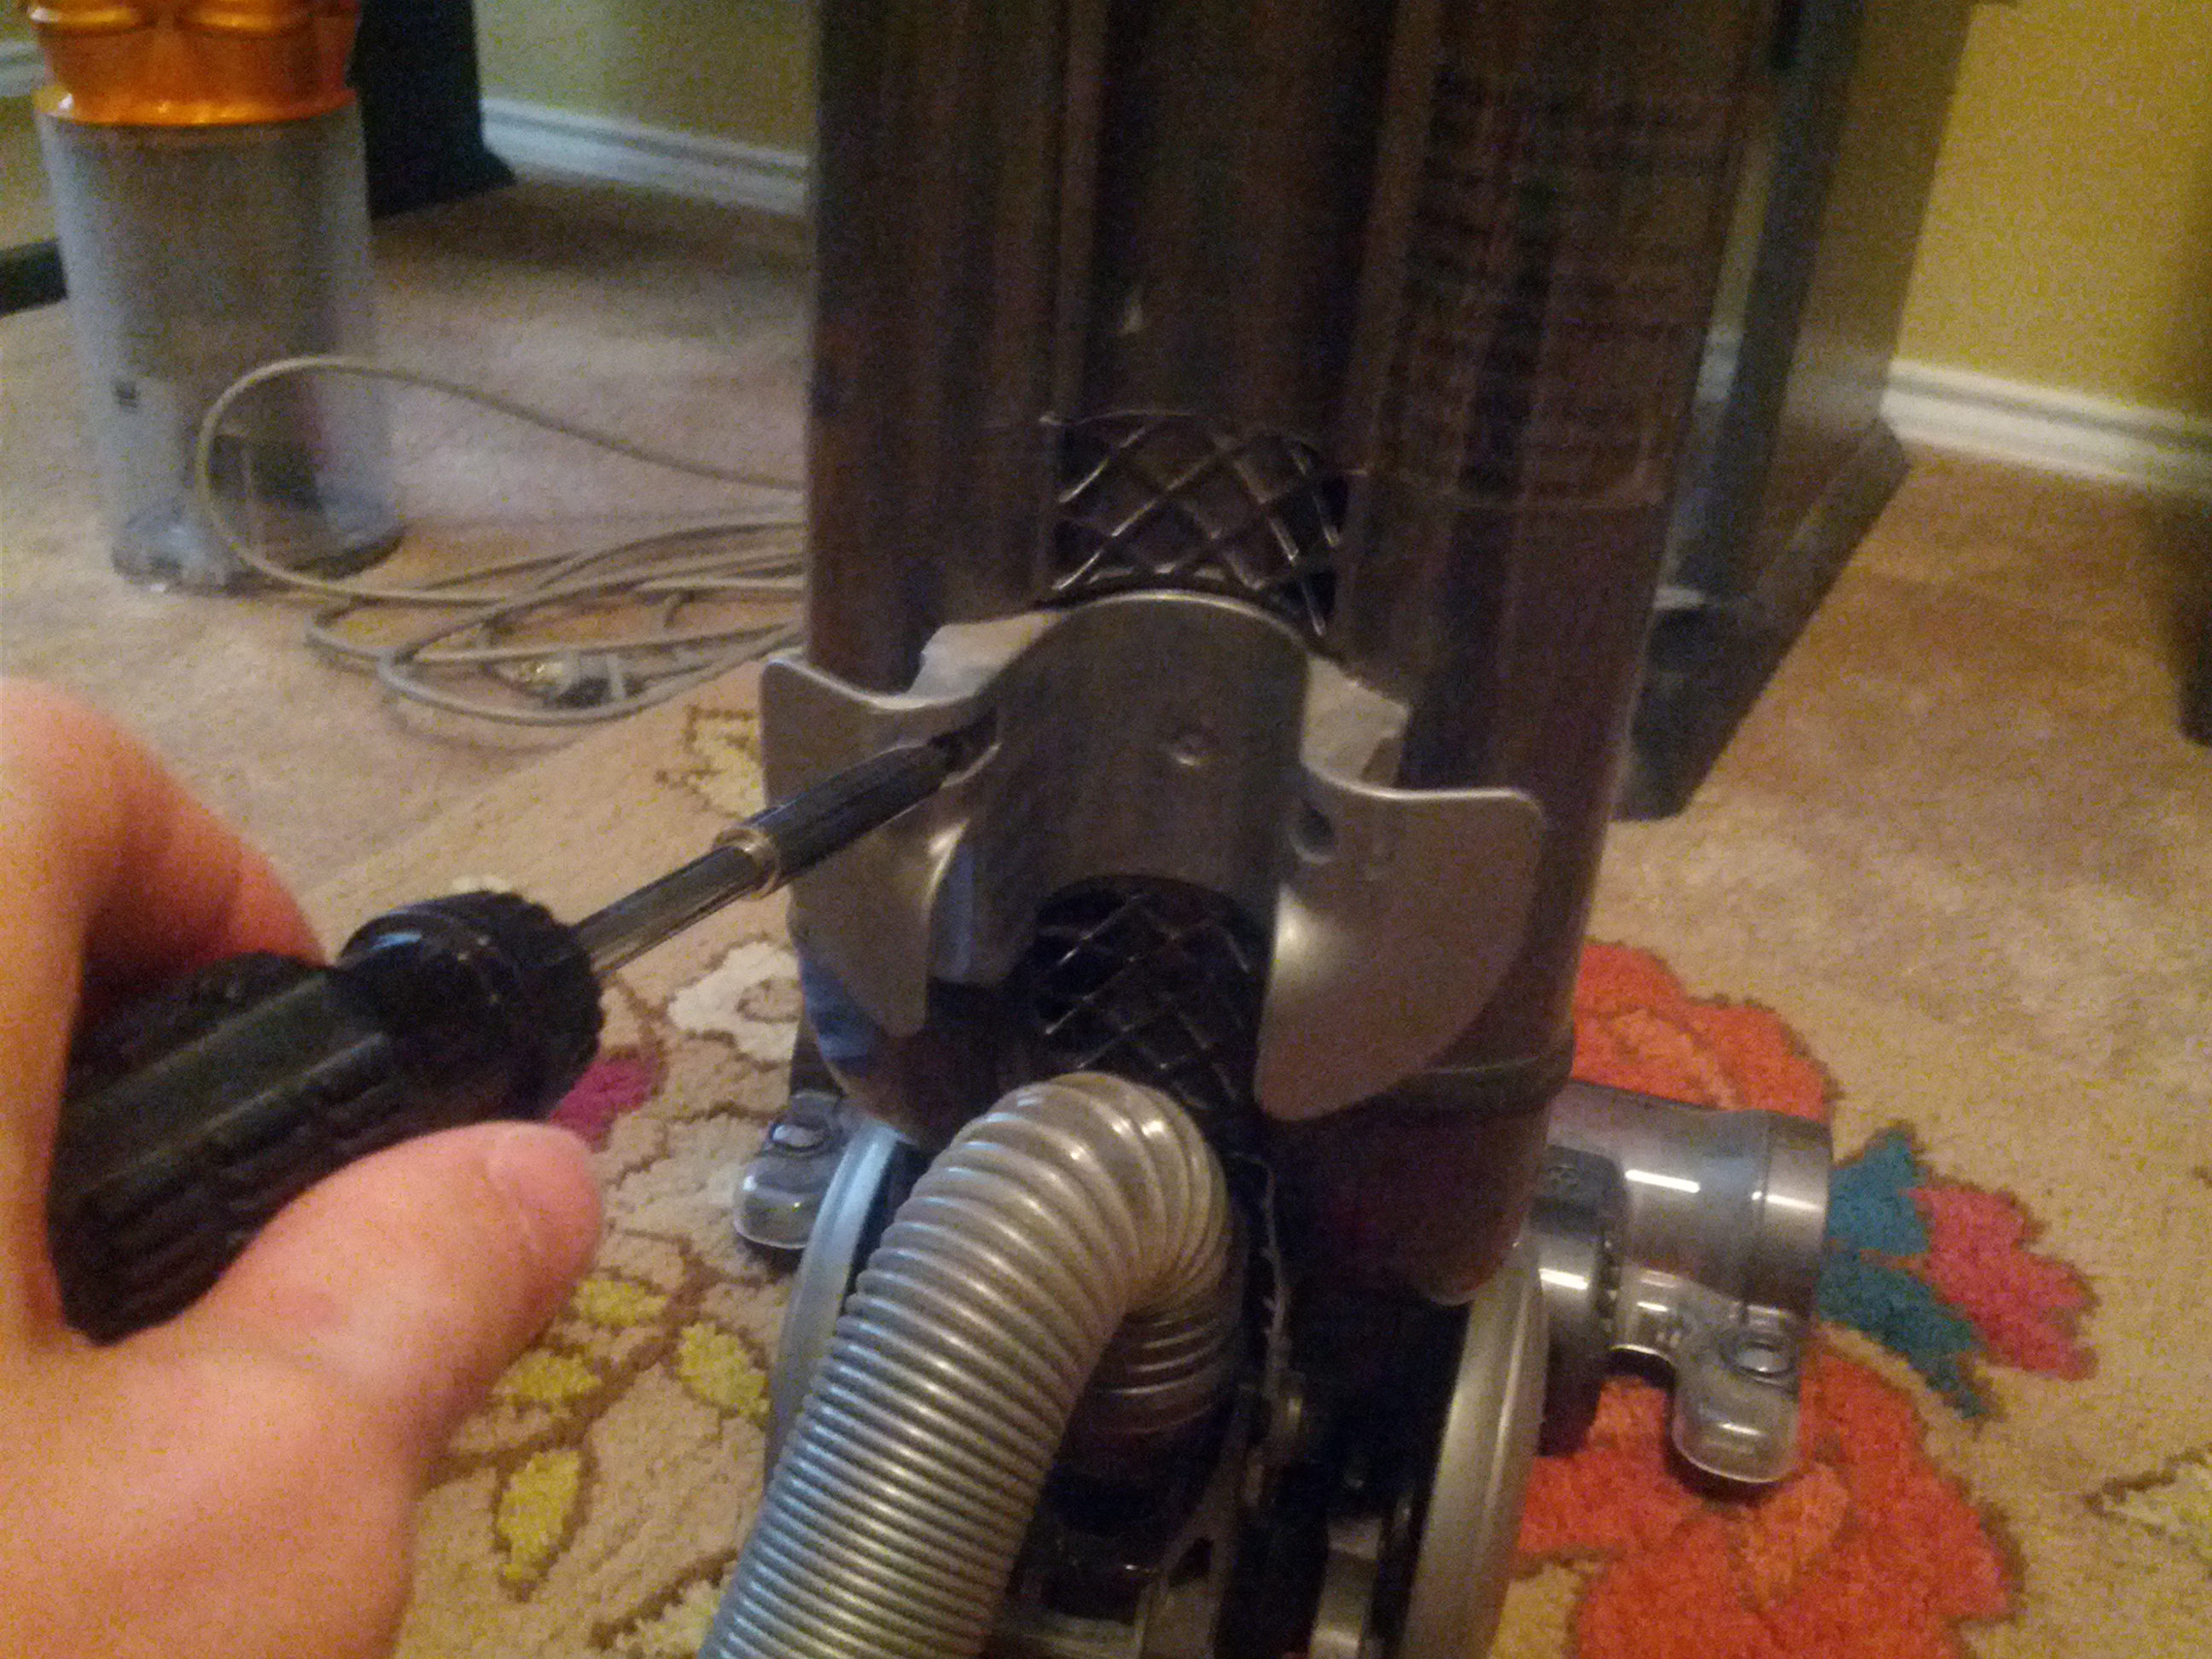
Next, get a T10 screwdriver and remove the bottom cord wrap bracket (see picture). Once this is removed it is very straightforward to rotate the filter’s casing slightly clockwise, then it just comes right off. Carefully remove the old filter and replace it with the new clean filter. Replace the filter and casing, rotate slightly counterclockwise, and replace the bracket. If the filter casing is in the right place then the bracket will easily go back on, so don’t force it.
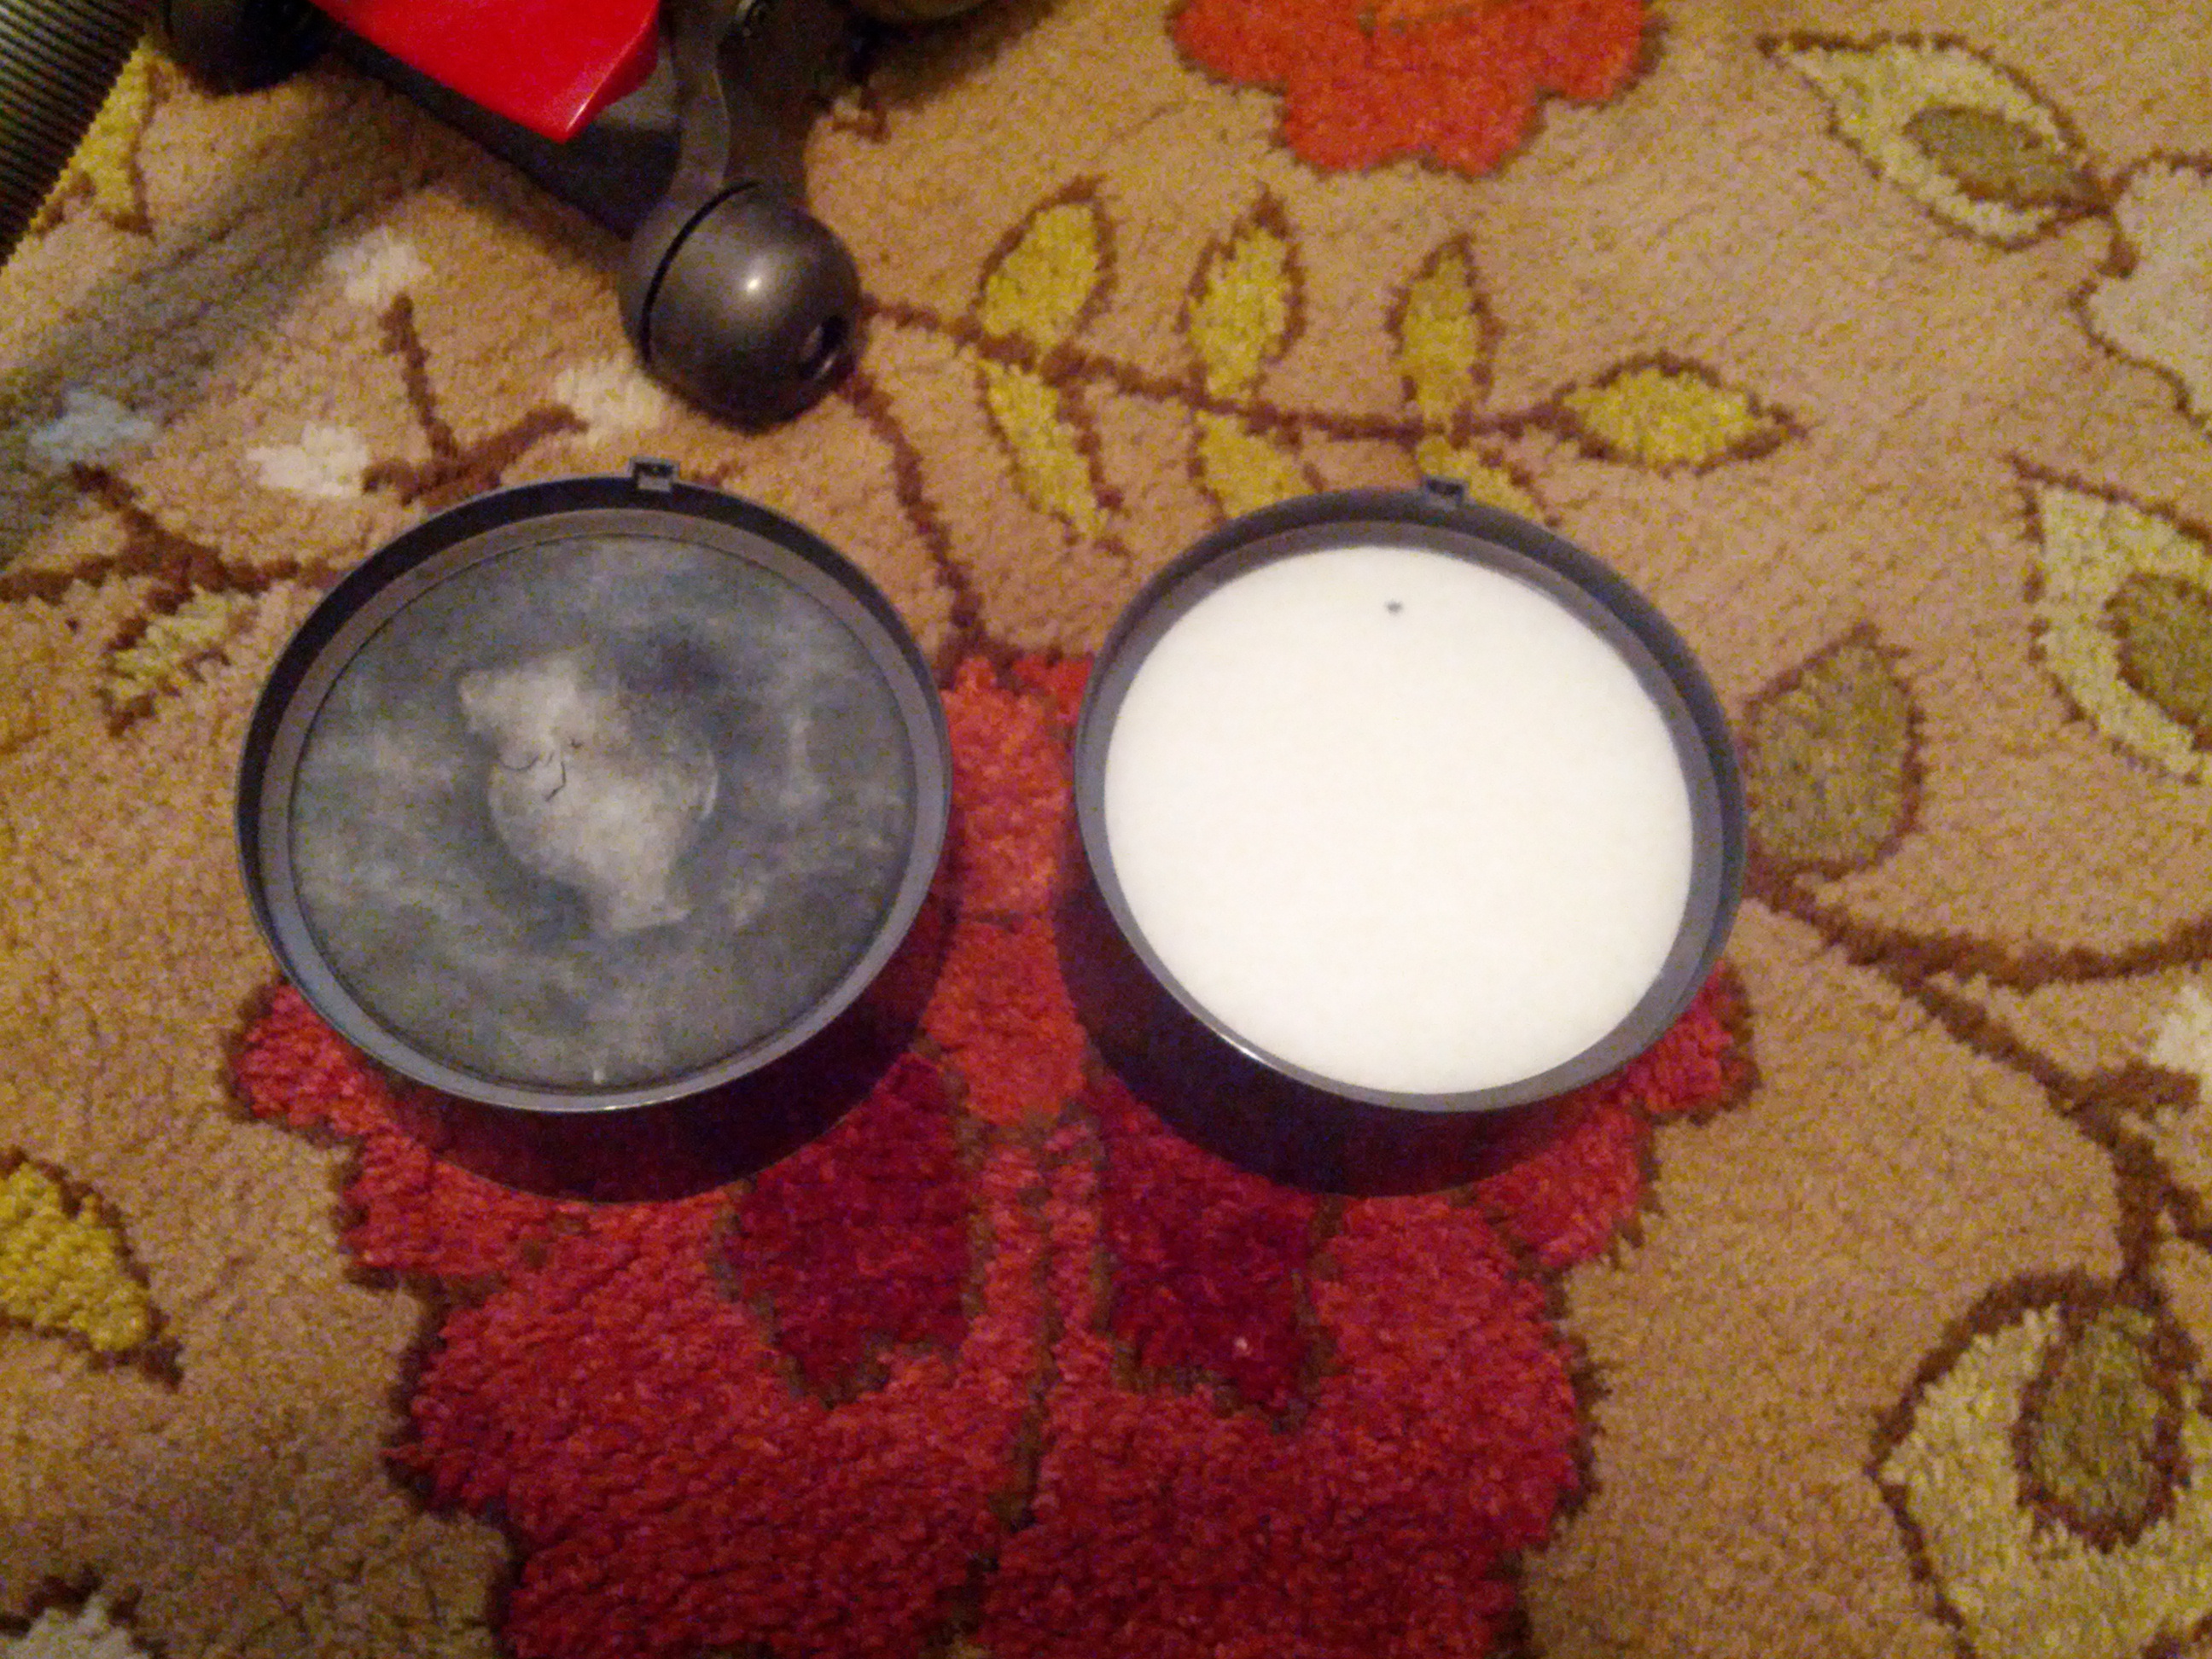
The before and after of the permanent filter is pretty disgusting. I hate to think what was being tossed into the air every time I vacuumed.
I also took apart the cyclone assembly (pretty straightforward.. if you can’t figure it out on your own, you probably shouldn’t be messing with your vacuum..) and blasted it clean with my hose. It was nasty. Took a few days to air dry because of all its nooks and crannies, but now it is shiny and just like new.
And the result? No more stinky vacuum! I’m in love with my Dyson again!